
These instructions are to make a pouch for a portable hard-drive like this one:
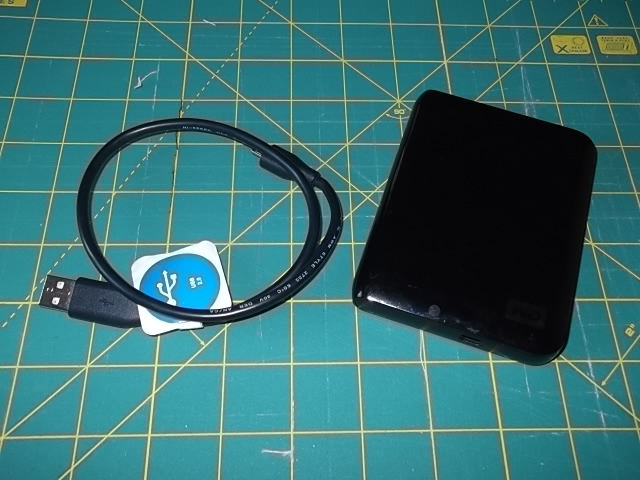
Mine is 3 1/4in x 4 1/4 in so the pouch is sized accordingly. Obviously you will need to adjust the measurements if your hard-drive is a different size.
First a disclaimer! This is my first ever tutorial, and I mainly did it to keep a record of how I made this one in case I want to make another. I am pretty new to this sewing malarky and make no claims to knowing what I am doing. However, if you do decide to make on of these, I would LOVE to see the results!
Right, first off you will need:
- An accent fabric to cut your applique shapes from - I used the cream one with the film themed pictures on it
- A fabric for the outside of your pouch - I used the black
- A lining fabric - I used the popcorn fabric
- A piece of bondaweb
- Some scraps of wadding
- A button
1. Start by ironing the bondaweb onto the back of the accent fabric, then cut out the shapes you want to use:


2. Then use a ruler and rotary cutter to cut the pieces from your remaining two fabrics. From your lining fabric you will need:
- 1 piece 3.5in x 5in to line the flap
- 1 piece 10in x 5in for the pocket divider
- 2 pieces 6in x 5in to line the main body

- 1 piece 3.5in x 5in to line the flap
- 2 pieces 6in x 5in to line the main body

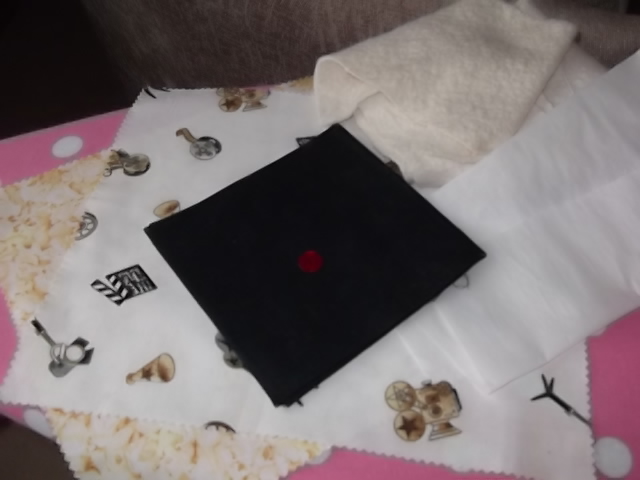
3. Iron the accent pictures onto the main fabric...


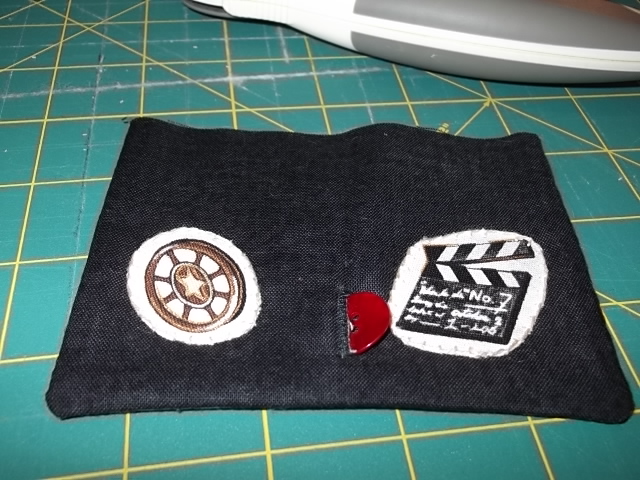
4. Now you're going to make the flap. Put the two piece of flap fabric RS together and place them on top of a piece of wadding the same size:

Sew around with a 1/4inch seam allowance, then trim off the excess wadding from the seam allowance:


6. Cut two pieces of wadding, 5in x 6in. Place one piece of wadding, then one piece of main body fabric RS up, then the other piece of main body fabric RS down, then the other piece of wadding. Again sew along the long edges. Trim the excess wadding from the seam allowance:


7. Iron the seams open:

8. Now this is the bit that I struggled with! You should now have these three components in front of you:


Continue to treat this as a tube - you are going to sew around (not across) the top. On one side of the 'tube' (upper in the picture below) you should have (from outside to inside) a layer of wadding, a layer of main fabric and a layer of lining:


9. Fold right way out and press:

10. Now fold inside out so that the lining is facing out:


11. Finally the button. Use a pin to mark where the button needs to be:


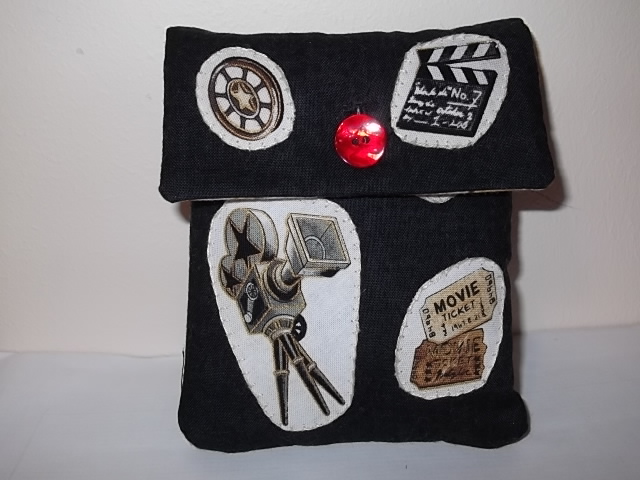
Et voila!

Hope you enjoyed this tutorial, and remember - you are more than welcome to copy this, but please please PLEASE credit me and, more importantly, let me see your work!
This was my first tutorial, so genuinely, any suggestions for improvement or advice would be greatly appreciated. This seems very long-winded and complicated but I'm not sure how to simplify it.
Thanks for reading! :)